Are you tired of the same plain peanut butter every morning?
If yes, it’s time to switch things up with Garlic Peanut Butter, a bold and savory spread that’s full of character!
Not only is this spread easy to prepare, but it also adds a unique flavor boost to your meals.
Whether you enjoy it on toast, in sandwiches, or as a veggie dip, this recipe will soon become a staple in your kitchen.
Why You’ll Love This Garlic Peanut Butter
Before diving into the recipe, let’s look at why this twist on classic peanut butter is worth trying:
- Unique Flavor: A delicious blend of savory garlic with nutty peanuts.
- Homemade Goodness: Fresh, preservative-free, and customizable.
- Versatile: Perfect for dips, spreads, marinades, and sauces.
- Nutrient-Rich: Packed with healthy fats, plant-based protein, and antioxidants.
Furthermore, it’s vegan-friendly, gluten-free, and low in carbs — ideal for almost every diet!
Ingredients You’ll Need
To create this flavorful spread, gather these simple ingredients:
- 2 cups roasted peanuts (unsalted)
- 4 cloves garlic (roasted or sautéed)
- 1 tablespoon olive oil
- 1 teaspoon sea salt (adjust to taste)
- 1 tablespoon honey or maple syrup (optional for sweetness)
- ½ teaspoon smoked paprika (optional, for an earthy touch)
Ingredient Notes:
- Roasted peanuts are essential because they blend smoother and develop a deeper flavor.
- Roasted garlic adds sweetness and cuts the sharpness raw garlic might have.
- Olive oil ensures a creamy, spreadable texture.
- Honey or maple syrup balances the savory garlic beautifully.
How to Make Garlic Peanut Butter recipe (Step-by-Step)
Follow these easy instructions to whip up your own garlic-infused spread at home:
Step 1: Roast the Garlic
First and foremost, roast your garlic cloves to mellow their flavor.
- Preheat your oven to 375°F (190°C).
- Peel the garlic cloves and place them in a small piece of foil.
- Drizzle with a little olive oil and wrap tightly.
- Roast for 20 minutes until soft and golden.
Pro Tip: If you’re short on time, sauté the garlic in a skillet for about 5 minutes.
Step 2: Blend the Peanuts
Meanwhile, add the roasted peanuts to a high-powered food processor.
- Pulse a few times to break them down into crumbs.
- Then, process continuously for 2–3 minutes until the peanuts turn into a thick paste.
Tip: Scrape down the sides occasionally to ensure an even blend.
Step 3: Add the Garlic and Seasonings
Now, add the roasted garlic, olive oil, salt, and optional ingredients (honey and paprika) into the peanut paste.
- Blend again until silky smooth.
- Taste and adjust salt or sweetness if needed.
If the butter feels too thick, drizzle in a little extra olive oil until you reach your desired consistency.
Step 4: Store and Enjoy
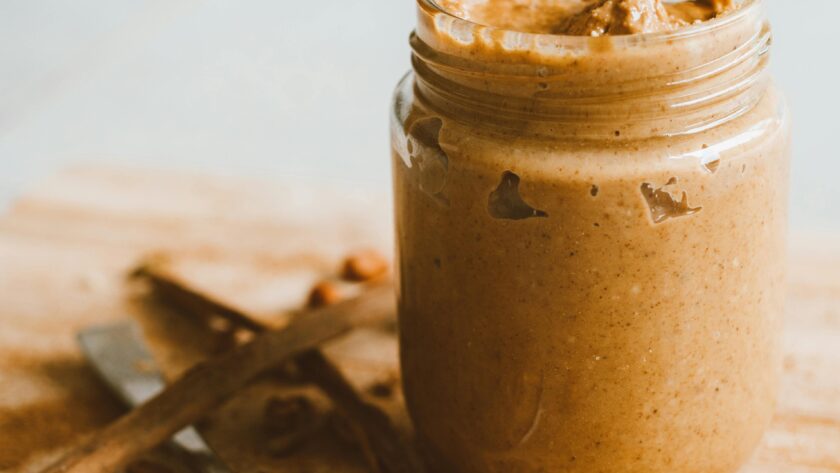
Finally, transfer the garlic peanut butter into a clean glass jar.
- Store it in the refrigerator for up to 2 weeks.
- Always use a clean spoon to avoid contamination.
Now, every time you crave a savory treat, this spread will be ready to delight your taste buds!
Nutritional Information (Per Tablespoon)
| Nutrient | Amount |
|---|---|
| Calories | 95 kcal |
| Fat | 8 g |
| Carbohydrates | 3 g |
| Fiber | 1 g |
| Protein | 4 g |
| Sugar | 1 g |
| Sodium | 70 mg |
Note: Nutritional values are approximate and depend on the exact ingredients used.
Tips for Perfect Garlic Peanut Butter recipe
To achieve the best results every time, consider these expert tips:
- Use Fresh Garlic: Roasted fresh garlic delivers a sweeter, richer taste compared to jarred varieties.
- Blend Thoroughly: Patience is key. Blend long enough for a smooth, creamy texture.
- Adjust Flavors: Some like it more garlicky, while others prefer subtle hints. Feel free to tweak the garlic quantity.
- Storage Tip: Label the jar with the date you made it to track freshness.
Moreover, if your peanut butter separates after a few days, simply stir it back together!
Flavor Variations
Want to experiment further? Here are a few exciting ways to customize your garlic peanut butter:
1. Spicy Garlic Peanut Butter
- Add ½ teaspoon chili flakes or a few drops of sriracha sauce to the mix for a fiery twist.
2. Herbed Garlic Peanut Butter
- Blend in a handful of fresh basil, thyme, or rosemary for a herby aroma.
3. Lemon Garlic Peanut Butter
- Squeeze in a teaspoon of fresh lemon juice to brighten the flavor profile.
4. Smoky Garlic Peanut Butter
- Increase the smoked paprika for a stronger smoky dimension.
As you can see, with just a few tweaks, you can craft a new spread every week!
How to Use Garlic Peanut Butter
Though it’s incredibly delicious on its own, here are more ideas to enjoy it:
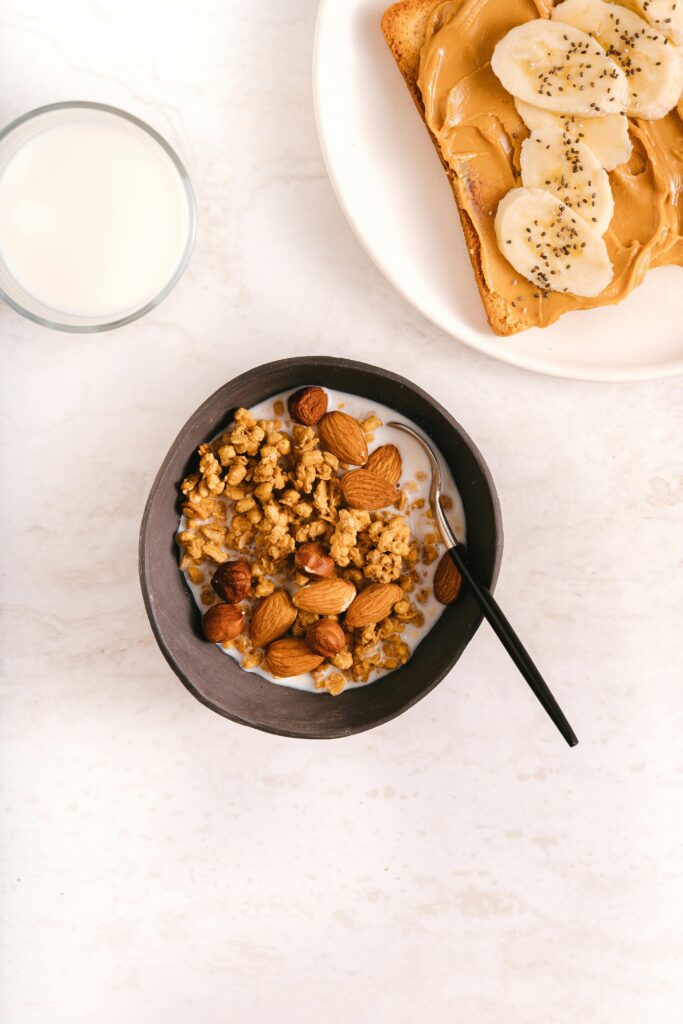
- Spread it on whole-grain toast or bagels.
- Pair it with sliced cucumbers, carrots, or celery sticks.
- Use it as a base for Asian-style sauces in noodles or stir-fries.
- Blend into your smoothies for a surprising savory depth.
- Add a spoonful to salad dressings or marinades.
Clearly, the possibilities are endless!
Frequently Asked Questions (FAQs)
Q1: Can I use raw peanuts?
You could, but roasting brings out a much deeper, richer flavor, making the spread more appealing.
If you only have raw peanuts, toast them in a 350°F oven for 10–12 minutes first.
Q2: How strong is the garlic flavor?
Roasted garlic offers a sweet, mellow taste, so it won’t overpower the peanuts.
However, if you love garlic, feel free to add an extra clove or two!
Q3: Is this recipe vegan?
Yes, if you use maple syrup or skip the sweetener altogether, this garlic peanut butter remains completely vegan.
Q4: How can I make it creamier?
Adding a bit more olive oil or a spoonful of coconut oil during blending helps make the peanut butter ultra-smooth and creamy.
Q5: Can I freeze garlic peanut butter?
Definitely! Portion it into small airtight containers and freeze for up to 3 months.
Just thaw in the fridge overnight before using.
Final Thoughts: Why You Should Try Garlic Peanut Butter Today
By now, you must be tempted to whip up a batch of your own Garlic Peanut Butter!
It’s flavorful, healthy, easy to make, and surprisingly versatile.
Unlike store-bought spreads, this homemade version lets you control everything: the salt, the sweetness, and the intensity of the garlic.
Plus, making it yourself ensures you’re skipping unnecessary preservatives, added sugars, and stabilizers.
So, don’t wait — gather your ingredients, roast some garlic, and let your blender work its magic.
One bite of this bold and delicious spread, and you’ll wonder how you ever lived without it!
Summary Table
| Aspect | Details |
|---|---|
| Preparation Time | 10 minutes |
| Cooking Time | 20 minutes (roasting garlic) |
| Total Time | 30 minutes |
| Yield | About 1 ¼ cups |
| Storage | Refrigerate for up to 2 weeks |
| Best Pairings | Toast, veggies, noodles, dressings |


Leave a Reply