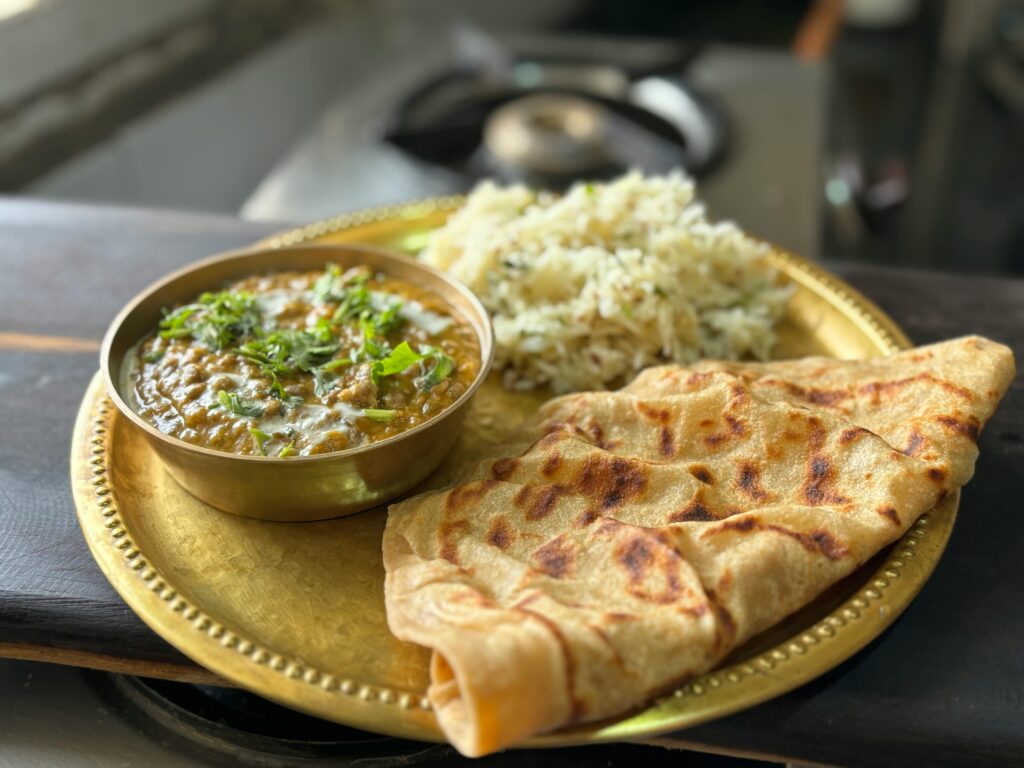
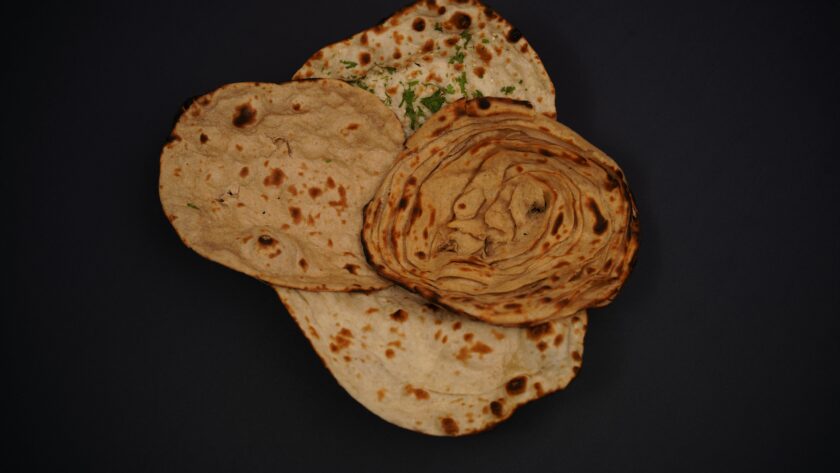
Indulge in the layers of flaky goodness with this Soft Lachha Paratha Recipe, a traditional Indian flatbread that promises a delightful blend of crispness and softness in every bite. Perfectly crafted for pairing with rich curries or a simple dollop of yogurt, this recipe is a testament to the artistry of Indian cuisine. The Soft Lachha Paratha Recipe combines the perfect technique of rolling and folding, creating a symphony of layers that are both visually appealing and incredibly delicious. Whether you’re a seasoned cook or a beginner, mastering this Soft Lachha Paratha Recipe is easier than you think, with simple ingredients and a step-by-step process. Try this Soft Lachha Paratha Recipe today and transform your meals into a feast with its irresistible charm and flavour.
Lachha Paratha Recipe
Prep Time: 20 minutes
Cook Time: 30 minutes
Total Time: 50 minutes
Servings: 6
Ingredients
For the Dough:
- 2 cups whole wheat flour
- 1/2 teaspoon salt
- 1/4 cup ghee or oil
- 3/4 cup water (adjust as needed)
For Rolling and Layering:
- 1/4 cup ghee or melted butter (for brushing)
- 1/4 cup dry flour (for dusting)
Instructions
1. Prepare the Dough:
- In a large mixing bowl, combine whole wheat flour and salt. Mix well.
- Add ghee or oil to the flour mixture and rub it in with your fingers until it resembles breadcrumbs.
- Gradually add water and knead to form a soft, smooth dough.
- Cover the dough with a damp cloth and let it rest for 20 minutes.
2. Roll Out the Parathas:
- Divide the dough into 6 equal portions and shape each into a ball.
- Lightly dust your work surface with dry flour. Take one dough ball and roll it out into a thin circle, about 8 inches in diameter.
- Brush the rolled-out dough with ghee or melted butter and sprinkle a light dusting of dry flour over it.
3. Create the Layers:
- Using a knife, make small cuts from the center of the rolled dough to the edges in a spiral pattern.
- Starting from one edge, roll the dough tightly to form a coil, then flatten it slightly with your palm.
- Repeat the process with the remaining dough balls.
4. Cook the Parathas:
- Heat a tawa or skillet over medium heat. Roll out one of the layered dough balls into a circle about 6 inches in diameter.
- Place the rolled paratha on the hot skillet. Cook for 30 seconds, then flip.
- Brush the top with ghee, flip again and brush the other side.
- Cook until golden brown spots appear on both sides, pressing gently with a spatula for even cooking.
- Repeat with the remaining dough balls.

Flavor-Enhancing Tips:
Use High-Quality Ghee:
The flavor of lachha paratha significantly depends on the quality of ghee or butter used. Opt for fresh, aromatic ghee for the best results.
Incorporate Herbs and Spices:
For a flavourful twist add finely chopped coriander leaves or sprinkle ajwain (carom seeds) to the dough while kneading.
Serve Hot:
Lachha parathas taste best when served hot, as the layers stay crisp and flaky.
Serving Suggestions:
Lachha parathas pair wonderfully with rich, creamy curries like butter chicken, paneer butter masala or dal makhani. For a simpler meal, serve with yogurt and pickles.
FAQs
Q: Can I make lachha parathas ahead of time?
A: Yes, you can partially cook the parathas and store them in an airtight container. Reheat them on a tawa or skillet before serving to retain their crispiness.
Q: How can I make lachha parathas vegan?
A: Substitute ghee with plant-based butter or oil to make the recipe vegan-friendly.
Q: Why is my paratha not flaky?
A: To ensure flakiness, brush each layer generously with ghee and don’t skip the spiral folding technique.
Q: Can I freeze lachha parathas?
A: Yes, you can freeze partially cooked parathas. Stack them with parchment paper between each paratha, wrap tightly in foil and freeze for up to a month.
Nutritional Information (Per Serving):
Calories: 250
Protein: 5g
Fat: 12g
Carbohydrates: 30g
Fiber: 3g
Craving delicious recipes? Click here to explore more and bring culinary magic to your kitchen.


