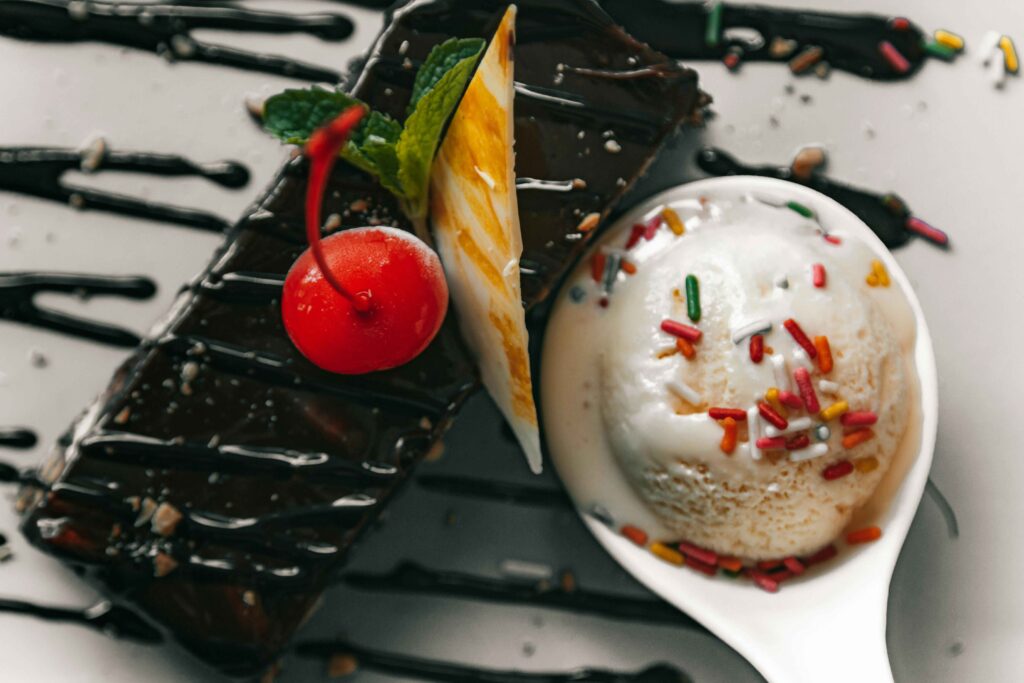
When it comes to sweet indulgences, few desserts can match the universal appeal of creamy, homemade vanilla ice cream. This timeless treat blends a velvety smooth texture with the classic taste of real vanilla, creating a dessert that’s both comforting and versatile. Whether you’re enjoying it on its own, as a topping for your favorite pie, or as a base for endless flavor combinations, vanilla ice cream is a staple in every dessert repertoire.
The beauty of this recipe lies in its simplicity. Using just a handful of ingredients, you can create a decadent dessert that’s far superior to store-bought options. Plus, the flexibility of the recipe allows you to customize it to suit your preferences—add fresh fruit, chocolate chips, or even a swirl of caramel for a personal touch. This step-by-step guide ensures that even beginners can master the art of homemade ice cream.
Perfect for all occasions, vanilla ice cream is more than just a dessert; it’s a symbol of culinary creativity and nostalgia. With this recipe, you’ll create a dessert that delights the taste buds and leaves everyone craving more.
Preparation Time for Vanilla Ice Cream
- Preparation: 15 minutes
- Chilling: 4 hours
- Churning: 20 minutes
- Total Time: 4 hours 35 minutes
Ingredients
For the Ice Cream Base:
- Heavy Cream (2 cups, ~480ml)
Calories: ~800 calories - Whole Milk (1 cup, ~240ml)
Calories: ~150 calories - Granulated Sugar (3/4 cup, ~150g)
Calories: ~600 calories - Egg Yolks (4 large, ~72g)
Calories: ~280 calories - Vanilla Bean (1, or 2 teaspoons of vanilla extract)
Calories: ~12 calories
Instructions
1. Prepare the Custard Base
- Heat the Dairy: In a medium saucepan, combine 2 cups of heavy cream and 1 cup of whole milk. Slice the vanilla bean lengthwise, scrape out the seeds, and add both the seeds and pod to the saucepan. Heat over medium heat until the mixture begins to steam, but do not let it boil. Remove from heat and let the vanilla infuse for 10 minutes.
- Whisk the Yolks and Sugar: In a separate bowl, whisk together 4 large egg yolks and 3/4 cup of granulated sugar until the mixture is pale and creamy.
2. Temper and Cook
- Temper the Eggs: Slowly add a ladleful of the warm cream mixture to the egg-sugar mixture, whisking constantly to prevent the eggs from curdling. Gradually add the rest of the cream, whisking continuously.
- Cook the Custard: Pour the mixture back into the saucepan and cook over low heat, stirring constantly with a wooden spoon, until the custard thickens slightly and coats the back of the spoon (~5-7 minutes). Do not let it boil.
3. Chill the Custard
- Strain and Cool: Strain the custard through a fine-mesh sieve into a clean bowl to remove any curdled bits or vanilla pod remnants. Cover with plastic wrap, pressing it directly onto the surface to prevent a skin from forming.
- Refrigerate: Chill the custard in the refrigerator for at least 4 hours or overnight.
4. Churn the Ice Cream
- Prepare the Machine: Set up your ice cream maker according to the manufacturer’s instructions.
- Churn: Pour the chilled custard into the machine and churn until the mixture reaches a soft-serve consistency (~20 minutes).
5. Freeze and Serve
- Freeze: Transfer the ice cream to an airtight container, pressing a piece of parchment paper directly onto the surface to prevent ice crystals. Freeze for at least 2 hours to firm up.
- Serve: Scoop and serve your homemade vanilla ice cream with your favorite toppings or alongside a slice of pie.
Calorie Breakdown
- Heavy Cream: ~800 calories
- Whole Milk: ~150 calories
- Sugar: ~600 calories
- Egg Yolks: ~280 calories
- Vanilla Bean/Extract: ~12 calories
Total Calories: ~1,842 calories (serves 6, ~307 calories per serving)
Why This Recipe Works
- Rich and Creamy Texture: The combination of heavy cream, milk, and egg yolks creates a smooth, luxurious base.
- Authentic Vanilla Flavor: Using real vanilla bean elevates the flavor to a gourmet level, making it stand out from store-bought options.
- Customizable: Easily adapt this base recipe to include mix-ins like chocolate chips, fruit purees, or caramel swirls.
- Simple and Nostalgic: This recipe brings the timeless joy of homemade ice cream to your kitchen, perfect for creating lasting memories.

