When it comes to snacks or appetizers, stuffed bread-free balls recipe are a game-changer. Whether you are hosting a party, preparing a healthy treat, or just looking for a creative recipe to try, this dish is sure to impress. Packed with flavor and made without bread, these stuffed balls cater to various dietary preferences, including keto, gluten-free, and low-carb lifestyles. In this blog, we will explore how to make stuffed bread-free balls, why they are a great choice, and tips to perfect the recipe.
Why Choose Stuffed Bread-Free Balls?
Stuffed bread-free balls offer several advantages over traditional bread-based snacks. Here are a few reasons why you should try them:
- Healthier Alternative: By eliminating bread, you reduce the carbohydrate content, making these balls suitable for those on a low-carb or keto diet.
- Versatile Ingredients: You can use a variety of fillings, such as cheese, vegetables, or meat, to customize the flavor.
- Diet-Friendly: These balls are perfect for individuals with gluten intolerance or those who prefer a grain-free diet.
- Easy to Make: With simple ingredients and straightforward steps, this recipe is beginner-friendly.
Ingredients for Stuffed Bread-Free Balls
The ingredients can vary based on your preferences, but here is a basic list to get started:
For the Outer Layer:
- 2 cups of mashed potatoes (or cauliflower mash for a low-carb option)
- ½ cup almond flour or coconut flour
- 1 egg (for binding)
- ½ teaspoon garlic powder
- ½ teaspoon onion powder
- Salt and pepper to taste
And For the Filling:
- ¾ cup shredded cheese (mozzarella, cheddar, or a mix)
- 1 cup cooked and shredded chicken, paneer, or tofu (optional)
- ¼ cup finely chopped vegetables (bell peppers, spinach, or mushrooms)
- Spices: ½ teaspoon paprika, ½ teaspoon cumin, and a pinch of chili flakes
For Coating:
- 1 cup crushed nuts or pork rinds (for keto-friendly options) or gluten-free breadcrumbs
- 1 egg (beaten)
Step-by-Step Instructions
1. Prepare the Outer Layer
- Begin by boiling potatoes or steaming cauliflower until soft. Mash them into a smooth consistency.
- Add almond or coconut flour, garlic powder, onion powder, salt, and pepper to the mash. Mix well to form a dough-like consistency.
- Add an egg to the mixture and knead it thoroughly. The dough should be firm but pliable.
2. Prepare the Filling
- In a bowl, mix shredded cheese, your choice of protein (chicken, paneer, or tofu), and chopped vegetables.
- Season the filling with paprika, cumin, chili flakes, salt, and pepper. Stir until the ingredients are evenly combined.
3. Assemble the Balls
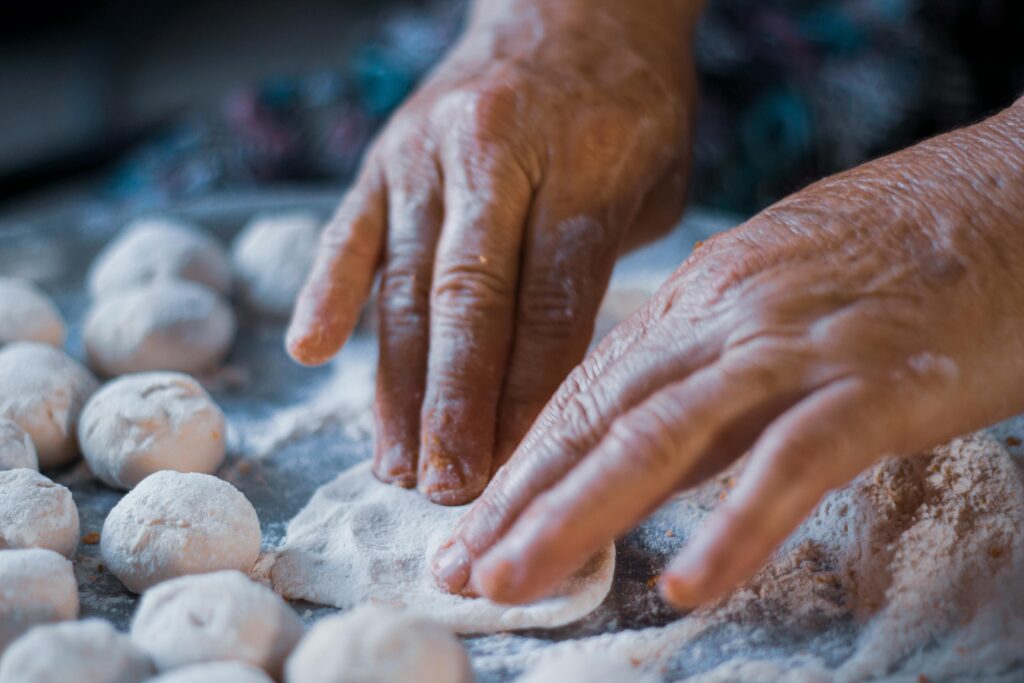
- Take a small portion of the dough and flatten it into a disc.
- Place a spoonful of the filling in the center and carefully fold the edges to seal it. Roll it gently between your palms to form a smooth ball.
- Repeat the process until all the dough and filling are used.
4. Coat the Balls
- Dip each ball into the beaten egg and then roll it in the crushed nuts, pork rinds, or breadcrumbs.
- Ensure the coating is even for a crispy texture.
5. Cook the Balls
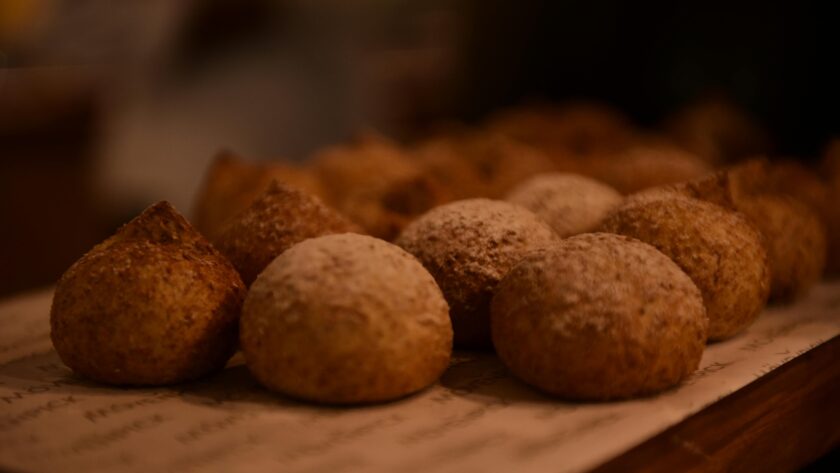
- Frying Option: Heat oil in a deep pan and fry the balls until golden brown.
- Baking Option: Preheat the oven to 375°F (190°C) and bake the balls on a greased baking sheet for 20-25 minutes, turning them halfway through.
- Air-Frying Option: Place the balls in an air fryer and cook at 375°F (190°C) for 12-15 minutes.

Tips for Perfect Stuffed Bread-Free Balls
- Choose the Right Binding Agent: The dough should hold together well. If it’s too dry, add a bit more egg or a splash of water.
- Balance the Flavors: Taste the filling before assembling the balls to ensure it’s well-seasoned.
- Ensure Proper Sealing: Seal the edges tightly to prevent the filling from leaking during cooking.
- Experiment with Fillings: Don’t hesitate to try different combinations, such as spinach and feta, or spicy black beans and cheese.
- Control the Coating: A thin, even coating ensures crispiness without overpowering the flavors.
Nutritional Information (Per Serving)
This nutritional breakdown is approximate and varies based on the ingredients used.
- Calories: 120
- Protein: 6g
- Fat: 8g
- Carbohydrates: 5g
- Fiber: 2g
Why These Balls Work for Keto
Stuffed bread-free balls align perfectly with a keto diet due to their low carbohydrate content and high-fat profile. By using ingredients like almond flour, cheese, and nuts, you ensure that each bite is both satisfying and nutritious. Moreover, the versatility of this recipe allows you to experiment with keto-friendly fillings such as bacon, avocado, or even cream cheese.
Frequently Asked Questions
1. Can I make these balls ahead of time?
Yes, you can assemble the balls and store them in the refrigerator for up to 24 hours before cooking. Alternatively, freeze them for up to a month and cook directly from frozen.
2. What are some dairy-free options for the filling?
You can replace cheese with dairy-free alternatives like nutritional yeast, vegan cheese, or mashed avocado.
3. How do I make these balls spicier?
Add more chili flakes, jalapeños, or hot sauce to the filling for an extra kick.
4. Can I skip the coating?
Yes, but the coating adds a crispy texture. If skipping, consider baking the balls to achieve some firmness.
5. Are these suitable for kids?
Absolutely! You can adjust the seasoning to make them milder and use kid-friendly fillings like mozzarella and sweet corn.
Serving Suggestions
Stuffed bread-free balls are incredibly versatile. Here are a few ways to serve them:
- With Dips: Pair them with marinara sauce, ranch dressing, or garlic aioli.
- As a Side Dish: Serve them alongside a fresh salad or roasted vegetables.
- In a Platter: Include them in an appetizer platter with other finger foods.
Conclusion
Stuffed bread-free balls are a delightful and healthy alternative to traditional snacks. Their versatility, ease of preparation, and compatibility with various diets make them a must-try recipe. Whether you’re planning a party, meal-prepping for the week, or simply experimenting in the kitchen, these balls will surely become a favorite. So, gather your ingredients and start rolling—your taste buds are in for a treat!


Leave a Reply